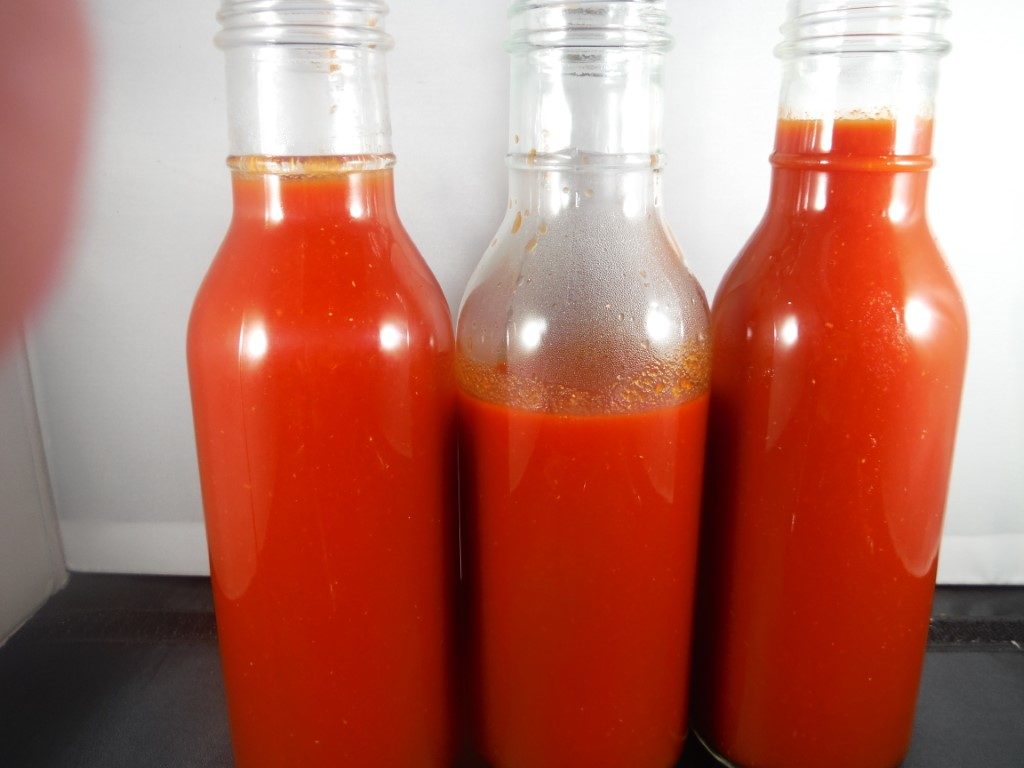
My favorite hot sauce, and one of America’s most popular hot sauces, is the Sriracha Hot Chili Sauce made in California by Huy Fong Foods, and sold in the distinctive plastic squeeze bottle with a rooster symbol. This is a thoroughly American product made using red jalapenos and is inspired by hot sauces made in the Thai port city of SriRacha, which is also where two of Thailand’s oil refineries are located, including the Esso refinery. I visited SriRacha a few times in the early 1980s when I lived in Thailand.
This posting is about how to make the same kind of sauce at home. It is a good way to use up chilies if you have them from the garden. It will also produce a hot sauce which tastes fresher than the commercial product, which must be stabilized and preserved for long shipping and shelf time.
I have made this a number of times using different kinds of chilies depending on what is available. My most recent batch was made from 100% red fresnos. An earlier half batch (used in some of the photographs was made with all of the hot peppers I happened to have from the garden. (8 oz. of red serranos, 1 oz. red shisedos, 1-1/2 Thai bullet chilies, and 1-1/2 oz mild red peppers). This mixture shows the flexibility of the basic approach – you can use what you have available. I prefer to make SriRacha sauce with red chilies vs. green, both for the ripe taste of the red chilies and because the hot sauce is better looking.
This recipe will make about 1 1/2 cups, and takes about 15 minutes of active time and 5-7 days of elapsed time.
1 1/2 lbs red jalapenos, fresnos, or serranos, stems snipped off leaving green tops intact
6 cloves garlic, peeled
4 tablespoons light brown sugar
1 tablespoon Kosher salt
1/2 cup malt vinegar
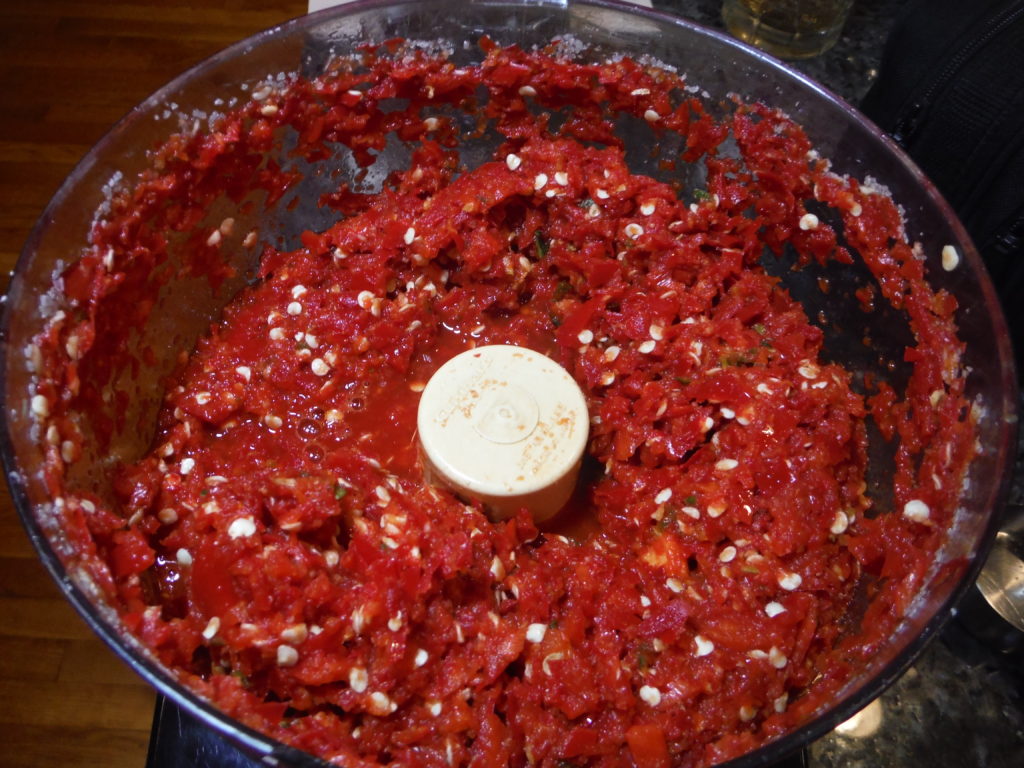
Put all ingredients except the vinegar into a food processor. Pulse until chilies are very finely chopped, scraping bowl as necessary.
With my big Breville food processor, this can be done very easily in up to two batches at a time. First, chop the garlic. Second, add the salt and brown sugar. Third, feed the chilies one or two at a time through the feed tube pulsing each one before adding the next. The chilies were nicely chopped without any need to scrap the sides to get any big pieces which had missed the blades.
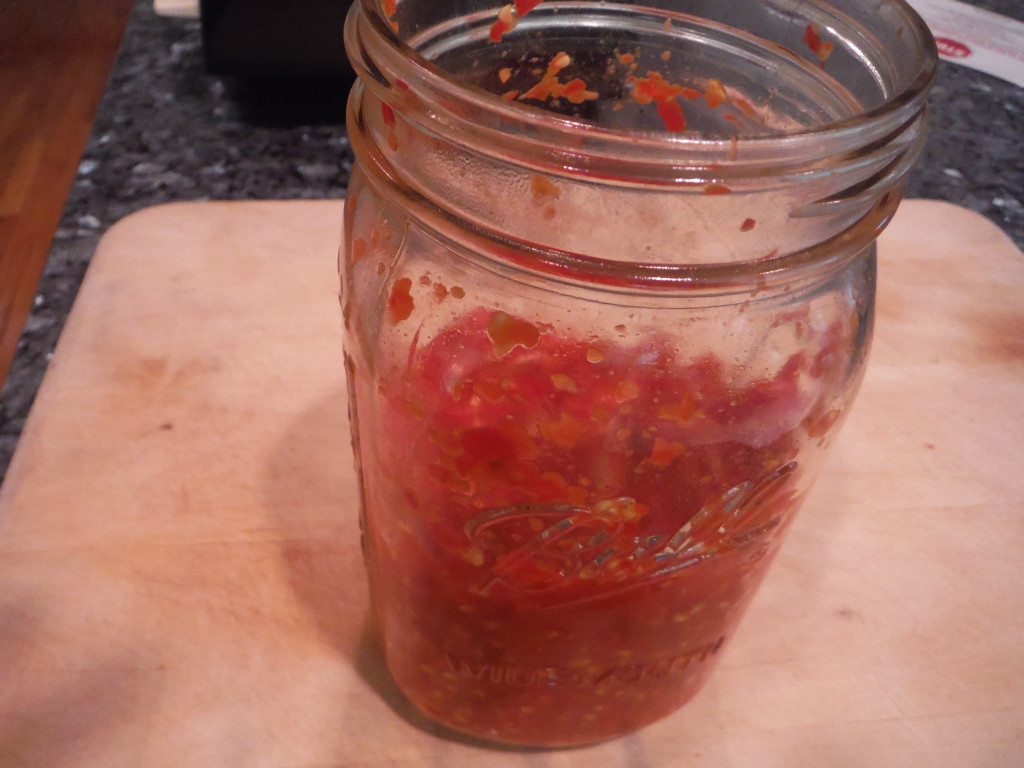
Transfer mixture to clean jar, cover, and let sit at room temperature. Check jar each day for fermentation, can be seen when little bubbles start forming at bottom of jar, (about 3-5 days). Stir contents each day, continuing to let ferment until chilies are no longer rising in volume, an additional 2-3 days. Depending on how full the jars are, you may need to set each jar on a small plate to catch any overflow during the fermentation phase.
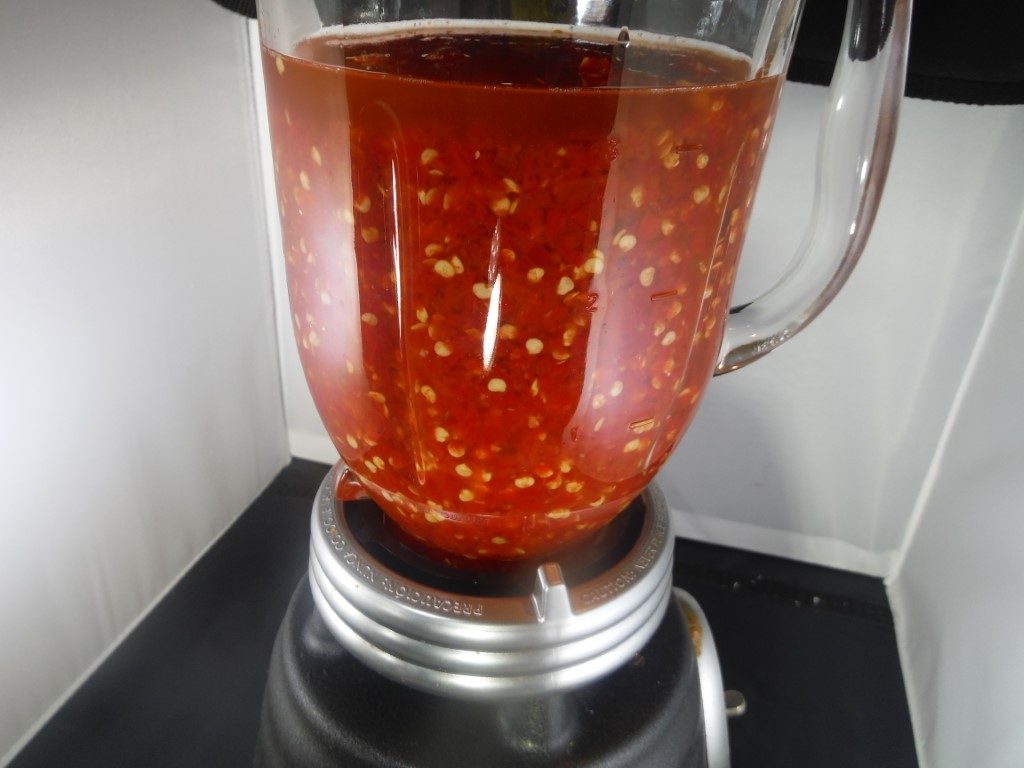
When the chili sauce has stopped fermenting, transfer the chilies to jar of a blender.
Add in the malt vinegar and puree until completely smooth, 1-3 minutes. Using a food mill, separate the seeds and skins from the liquid sauce, pressing with a rubber spatula to extract all the liquid possible.
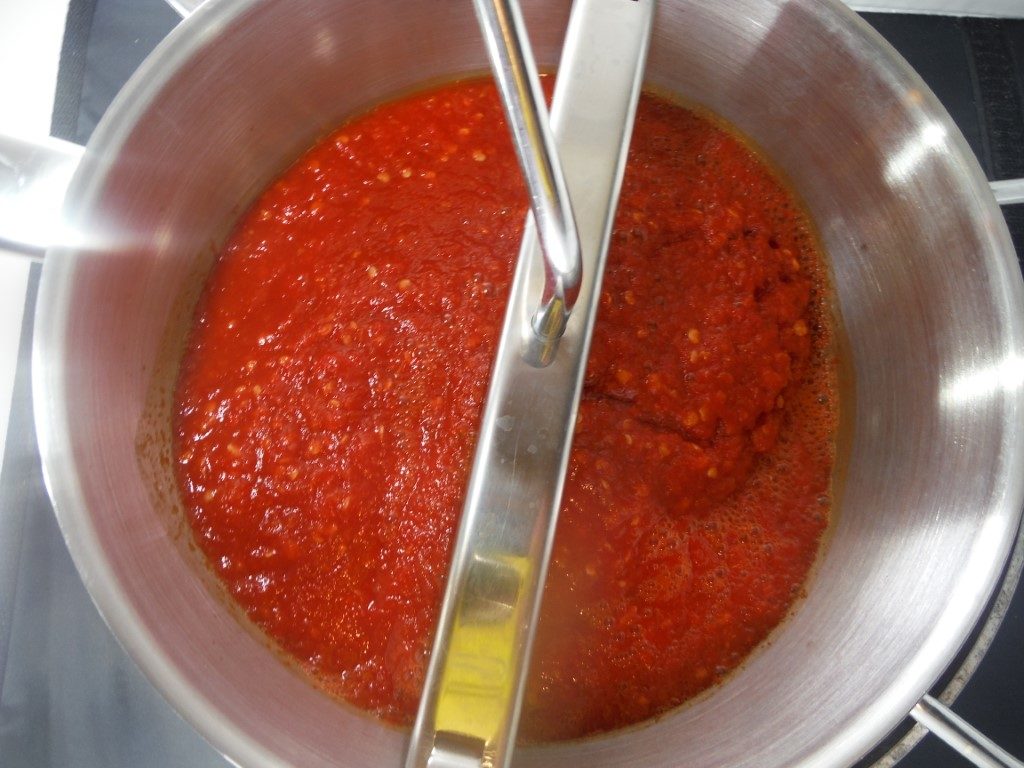
Put the liquid into a medium sauce pan and bring it to a boil. Reduce heat and simmer until sauce thickens and clings to a spoon (5-10 minutes). Transfer to an airtight container and store in refrigerator for up to 6 months.


