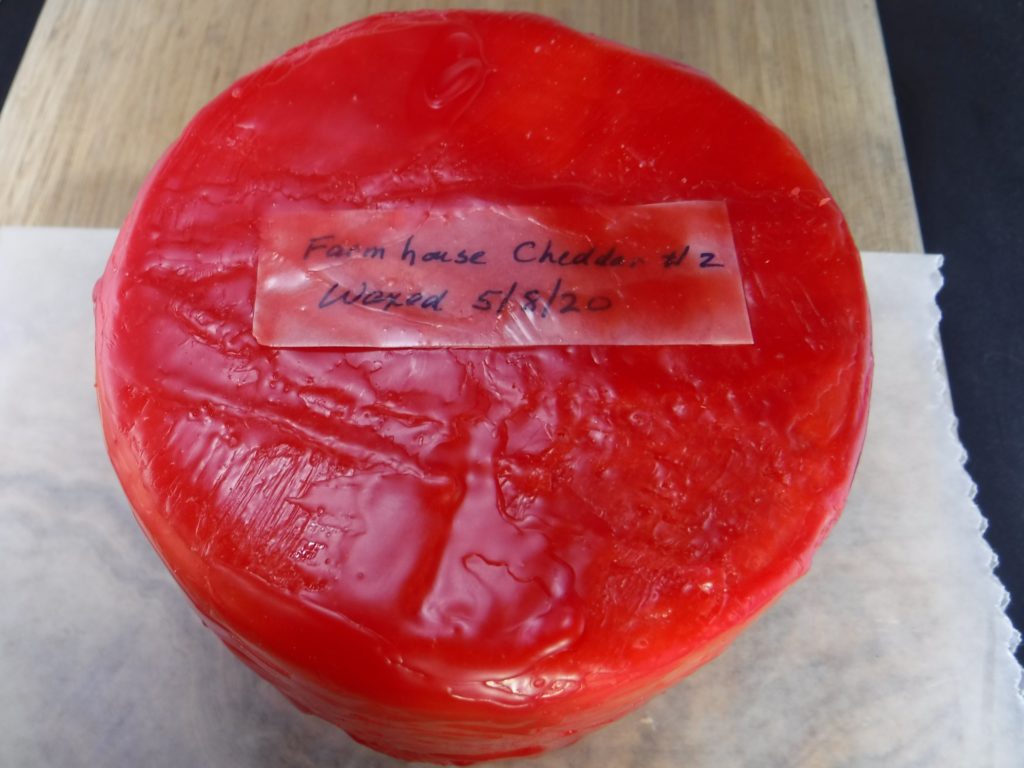
This post is documenting my journey on learning how to make a pressed cheese. I picked farmhouse cheddar as a starting project since it is a simplified version of cheddar cheese. A key part of the learning experience has been learning how, in my kitchen and with the equipment which I own, to keep the milk at the right temperature, to press the cheese, to drain the cheese, to wax the cheese, etc. I learned by practical experience, for example, that it is hard without a proper cheese press to put a large amount of weight evenly on a cheese.
I followed the recipe in Ricki Carroll’s Home Cheese Making, and some technical advice from www.cheesemaking.com.
The following table summarizes the steps in making farmhouse cheddar. A key fact to realize is that it takes about 5 hours of elapsed time on the day in which you turn fresh milk into a new cheese in a cheese press. Most of this is elapsed vs. active time, but at least every hour something has to be done.
| Step | Description | Time | Cum Time |
| 1a | Heat milk to 90 degrees F | 0:15 | 0:15 |
| 1b | Mix in starter and let ripen | 0:45 | 1:00 |
| 2a | Add rennet and mix | 0:01 | 1:01 |
| 2b. | Wait for curds to set | 0:45 | 1:46 |
| 3 | Cut the curds | 0:15 | 2:01 |
| 4 | Raise temp to 100 degrees while stirring | 0:30 | 2:31 |
| 5a | Settle curds | 0:05 | 2:36 |
| 5b | Put curds in cheesecloth | 0:15 | 2:51 |
| 5c | Drain curds in cheesecloth | 1:00 | 3:51 |
| 6 | Break curds into little pieces and mix in salt | 0:10 | 4:01 |
| 7a | Pack curds into mold | 0:05 | 4:06 |
| 7b | Apply 10 lbs. of pressure | 0:10 | 4:16 |
| 8a | Redress curds | 0:05 | 4:21 |
| 8b | Apply 20 lbs. of pressure | 0:10 | 4:31 |
| 9a | Redress curds | 0:05 | 4:36 |
| 10 | Apply 50 lbs. pressure | 12:00 | 16:36 |
| 10a | Remove cheese from mold. Remove cheesecloth | 0:05 | 16:41 |
| 10b | Air dry cheese on a mat turning frequently | 48:00 | 64:41 |
| 11 | Wax the cheese | 0:30 | 65:11 |
| 12 | Age the cheese (1 month minimum) |
2 gallons whole milk
1 packet direct-set mesophilic starter
¼ tsp. calcium chloride diluted in ¼ cup cool, unchlorinated water (optional)
½ tsp. liquid rennet diluted in ¼ cup cool, unchlorinated water
1 Tbs. (21.5 g.) cheese salt or Diamond Crystal kosher salt
Cheese wax
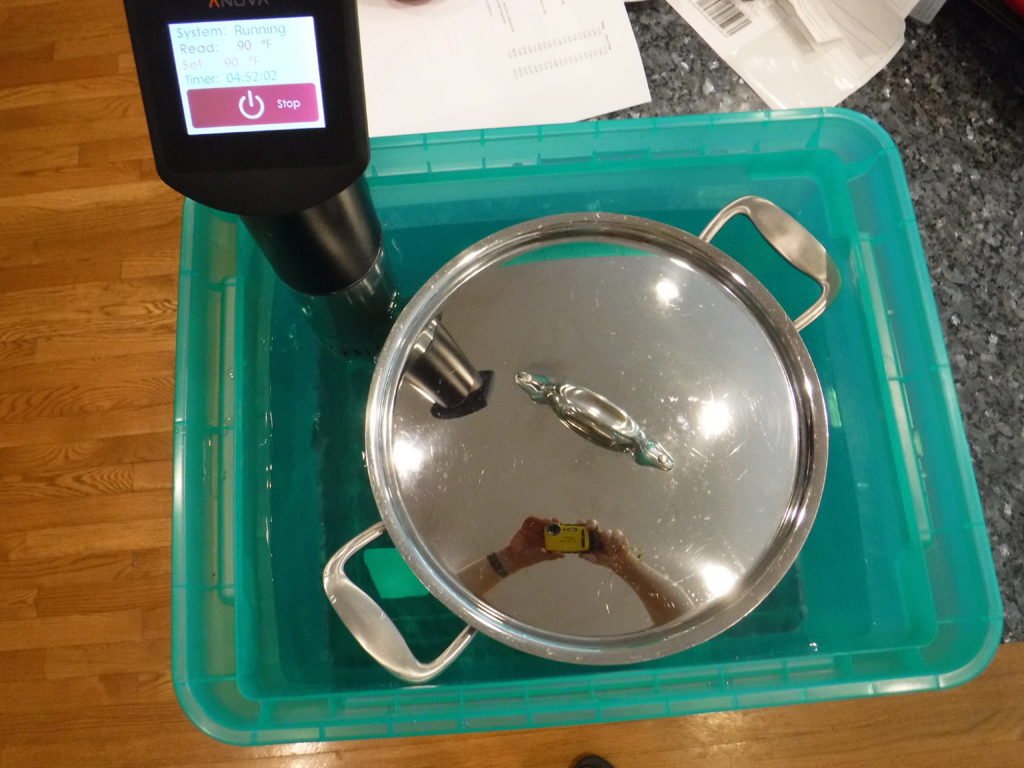
Warm the milk on the stove to 90 degrees and put the pot of milk in a container where it can be kept at that temperature. (I found a suitably sized box and used my Anova sous-vide wand.) Whisk in the starter thoroughly, cover the milk, and let it ripen for 45 minutes.
If using, add the optional diluted calcium chloride and mix well. (I did not use calcium chloride, which would have accelerated the separation of the curds and whey. I may use it the next time.)
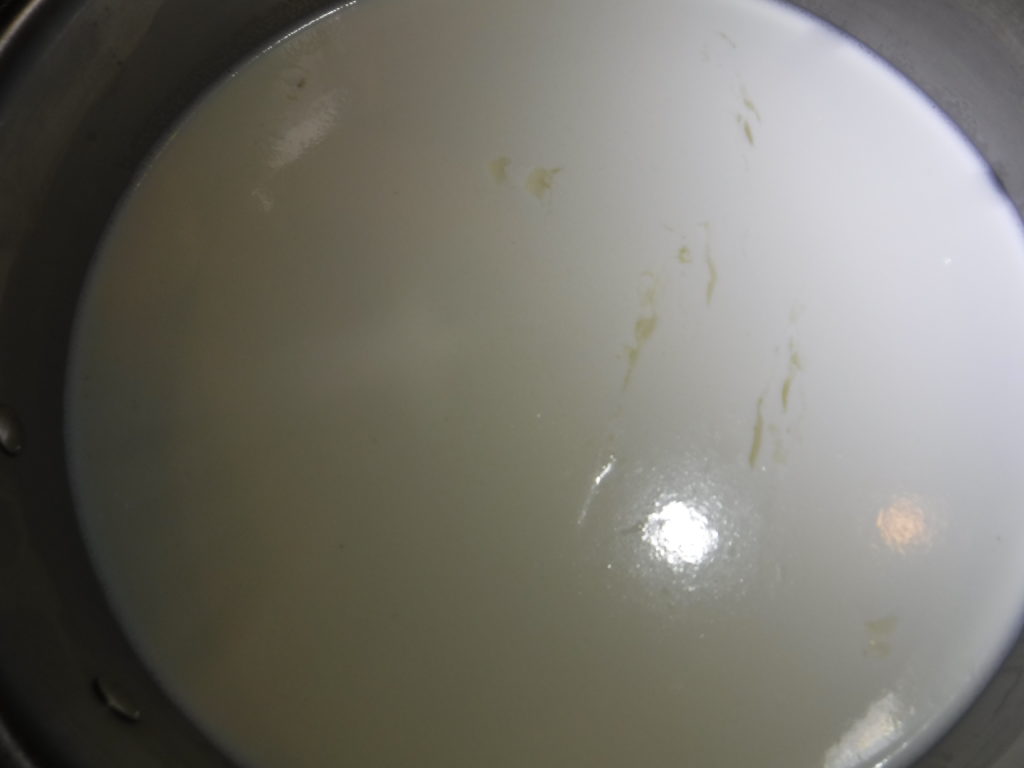
Add the rennet, sprinkling it over the cheese through a slotted spoon and mixing it gently but thoroughly. Replace the cover and let it rest for 45 minutes at 90 degrees. After 45 minutes, insert a knife to see if there is a break between the curds and the whey. If not, wait another 5 minutes and try again, and keep doing so until the break occurs. In this batch, it ultimately took about 90 minutes. If it seems like the break will never happen, gently add a bit more diluted rennet.
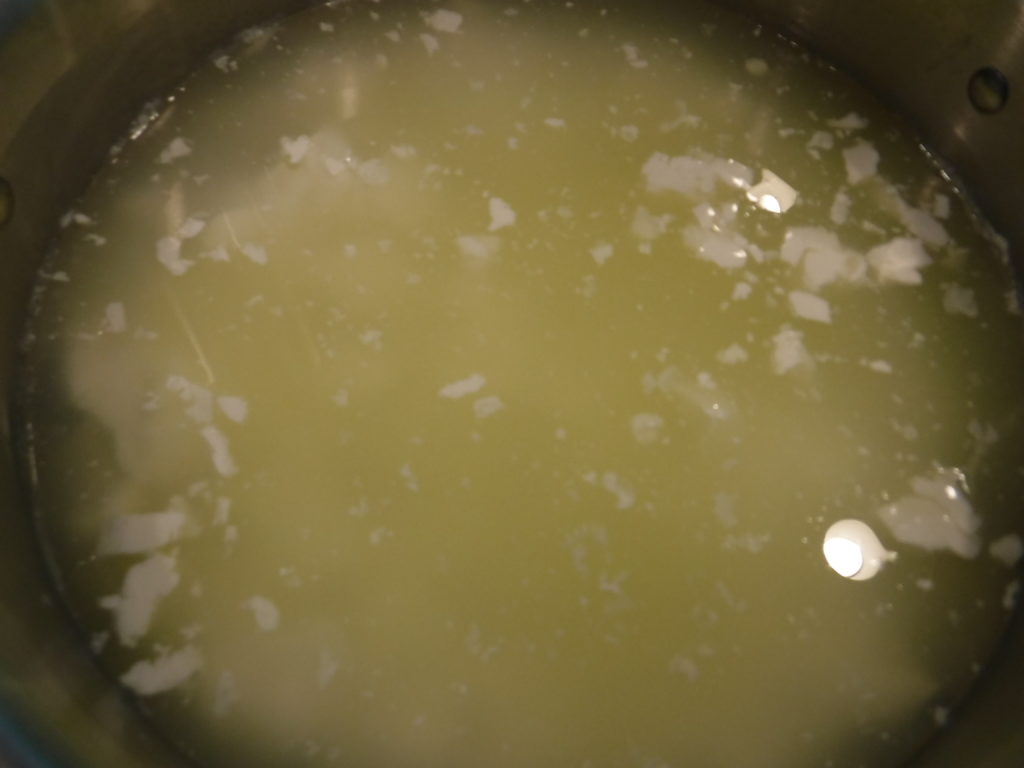
Once the break has occurred, cut the curd into ½ cubes. Cut vertically from one direction, and then from a 90 degree different direction. Then cut at an angle, and then a second time at an angle from 90 degrees differently. Increase the temperature on the Anova to about 110 degrees, and slowly (over at least 30 minutes) raise the temperature of the milk to 100 degrees. Stir gently to transfer the heat from the hot water from the outer edge of the pan to the milk at the center of the pan. Here is what the curds and whey will look like after they have completely separated.
Place a double thickness of butter muslin over a colander on top of a bowl. Spoon or pour the curds and whey into the butter muslin. You will probably have to drain away at least some of the whey to keep the bowl from overflowing. Pull together the corners of the butter muslin and suspend the butter muslin in a draft-free place and over a bowl to drain for an hour. I used butcher twine and hung the bag of curds from a cabinet knob.
After an hour, put the drained curds in a bowl and break them gently with fingers into walnut sized pieces.
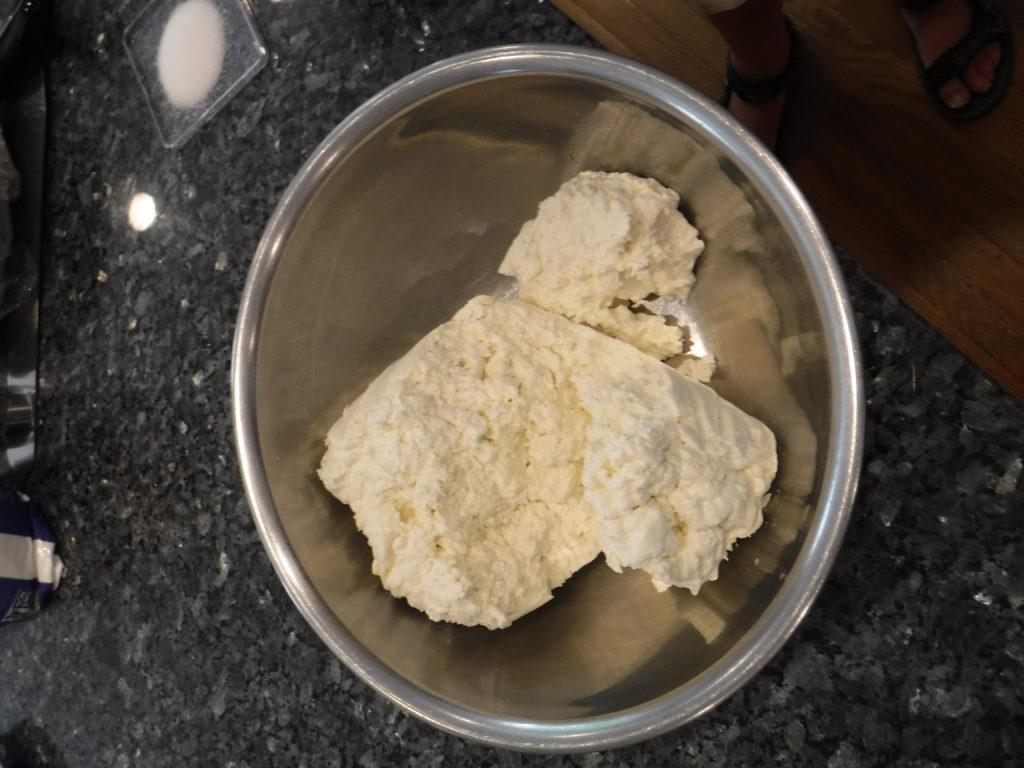
Mix in the cheese salt by hand.
Place the butter muslin in the cheese mold and pack the mold with the cheese curds. Neatly fold the butter muslin over the top. Apply 10 lbs. of pressure for 10 minutes. On my Dutch cheese press, I did this by suspending a 4 lb. barbell from the 2.5 times position.
Remove the butter muslin and pressed curds from the mold. Carefully peel away the butter muslin. Invert the cheese, redress it with the butter muslin, and press it at 20 lbs. for 10 minutes. On my Dutch cheese press, I did this by suspending an 8 lb. barbell from the 2.5 times position.
Remove the butter muslin and pressed curds from the mold. Carefully peel away the butter muslin. Invert the cheese, redress it with the butter muslin, and press it at 50 lbs. for 12-18 hours. On my Dutch press, I did this by suspending an 8 lb. barbell from the 2.5 times position and a 3 lb. and a 4 lb. barbell tied together and suspended from the 4 times position. (Thus my actual pressure was 20 + 28 = 48 lbs.) This step is the end of the major day of cheese making.
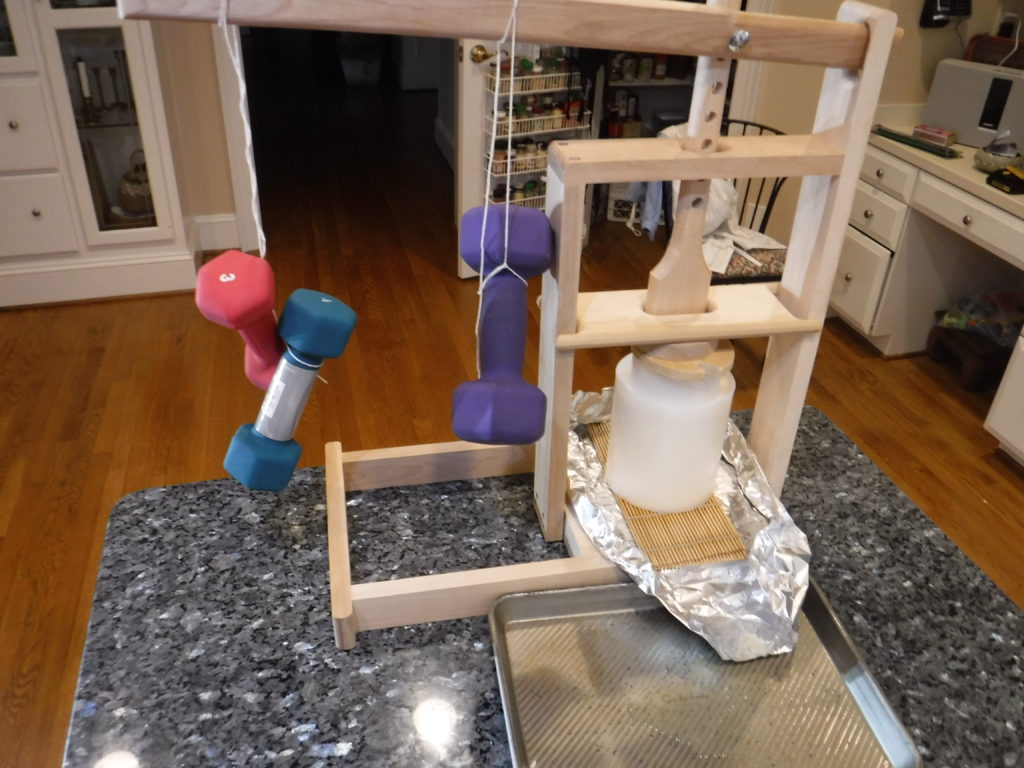
The next day, remove the pressed cheese from the mold, carefully remove the butter muslin, and put the cheese on a wooden board to air dry. The first day it will drain some liquid, so the board should be put in a sheet pan.
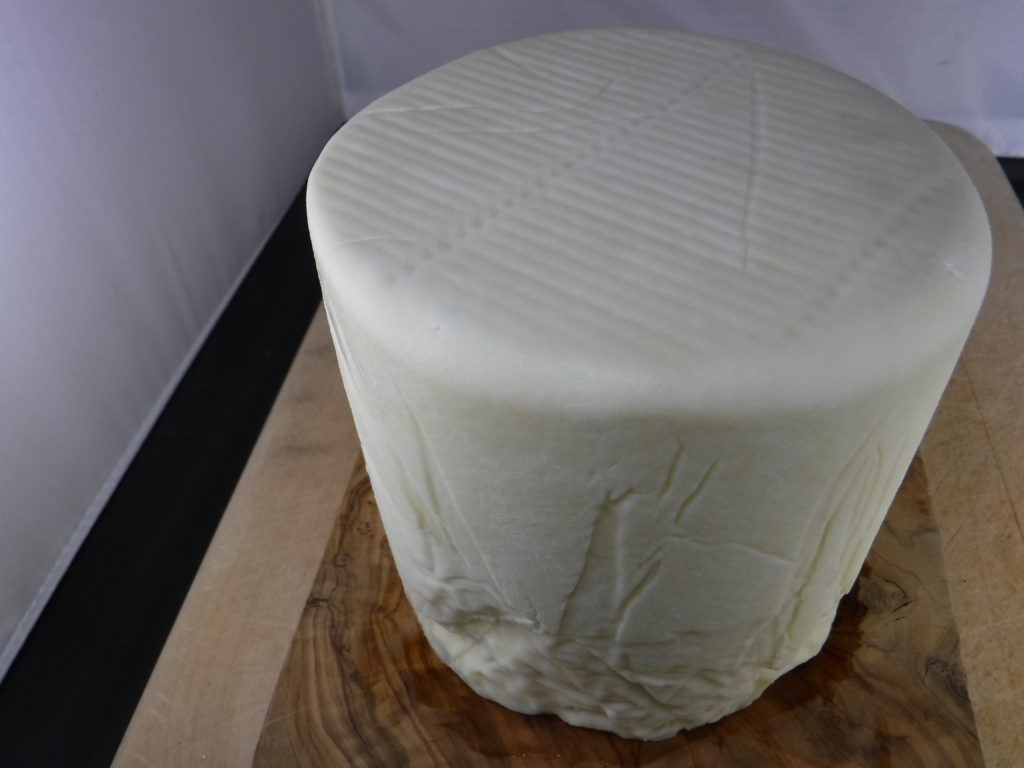
Air dry for 2-4 days, until the cheese is quite dry to the touch.
Melt some cheese wax in a double boiler. Here is a photo of how I did it, using a small metal bowl suspended over a small saucepan.
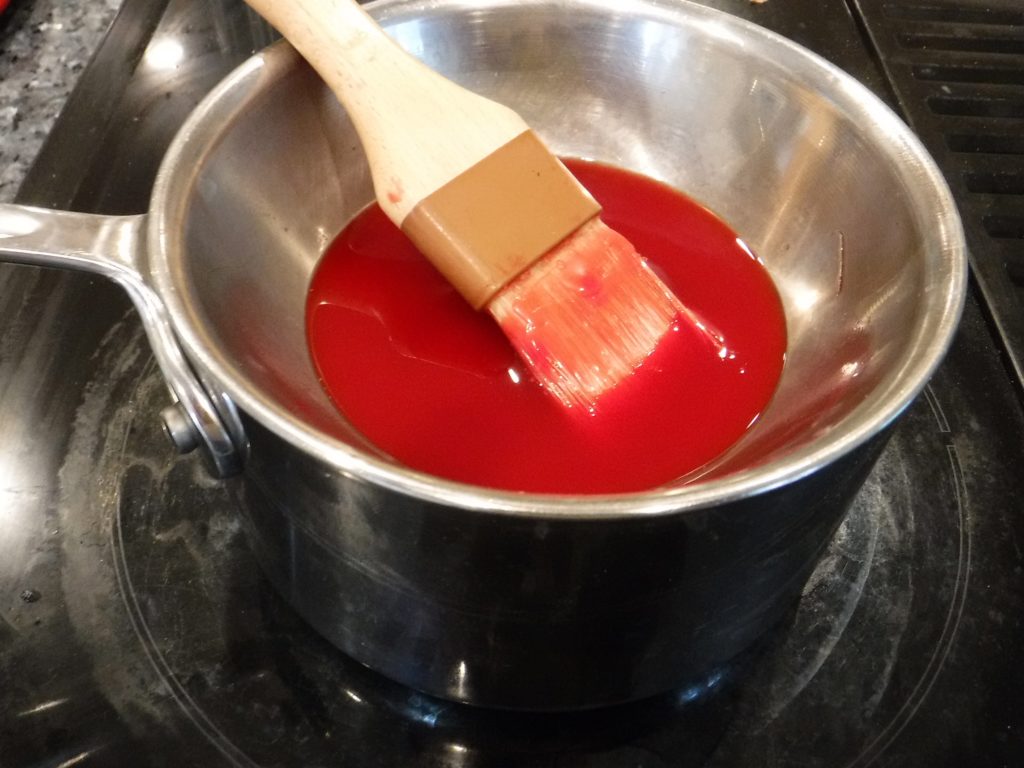
Using a brush, gently coat the cheese in a series of thin layers, turning the cheese until you are sure that all the nooks and crannies are coated in wax to prevent mold from growing. Make a small label showing the kind of cheese and the date of the waxing, and wax that label on to the top of the cheese. Place the cheese in a refrigerator to age for at least a month.


