
 As the name implies, Pane Francese is a northern Italian version of a French baguette. It differs from a standard baguette because it enriched with milk and olive oil, which softens the crumb and thickens the crust. This posting is an adaptation of recipe posted in Leite’s Cuinaria, which was in turn adapted from Zachary Golper’s and Peter Kaninsky’s book Bien Cuit. This recipe uses very little yeast (just over ¼ tsp.) and lots of elapsed time (I started about 10 p.m. on Thursday and baked on Saturday morning), but like nearly all bread recipes, there was very little actual work time. Golper and Kaninsky in their original recipe had a very idiosyncratic way of handling the dough, which I mostly did not follow. A very similar recipe is in Carol Field’s The Italian Baker for ciabatta, which confirms that this is essentially a ciabatta shaped like a baguette.
We ate the first loaf with breakfast and will have a second loaf with dinner. Golper and Kaminsky think the loafs should rest for a number of hours to be at their best. We will see if I agree.
This makes 6 small loaves suitable for baking in a Forneau oven insert.
Starter
300 grams (2-1/8 cups) all purpose flour
Pinch (1/16 tsp.) yeast
300 grams (1-1/4 cups) water
Dough
The completed starter
500 grams (3-9/16 cups) all purpose flour
1 Tbs. + ¼ tsp. salt
¼ tsp. yeast
235 grams (15 Tbs.) cold whole milk
3 oz. extra virgin olive oil
The night before making the dough, make the starter. Add the yeast to the water and stir to combine. Add the flour and mix until it is a smooth batter. Leave on the counter overnight to ferment in a covered doubling container. Even though there is only a pinch of yeast, it actually will double in about 12 hours.
To make the dough, put the starter in the bowl of a stand mixer. Add the milk and olive oil and mix until the mixture is uniform. In a separate bowl, mix together the flour, salt, and yeast. Add this dry mixture to the mixing bowl and combine with a dough whisk until all of the flour mixture is hydrated. Using a dough hook, mix the dough at medium speed until if forms a smooth ball, about 5 minutes. Put the dough ball in a large bowl, lightly coat it with olive oil, and cover the bowl with plastic wrap, and let it rise for an hour on the kitchen counter.
After an hour, take the dough out of the bowl and stretch it into a rectangle, about 24 inches by 15 inches. ( I stretched it over one of the wooden cutting boards. Since the surface of the dough was a bit oily, I did not need to use any flour to keep the dough from sticking to the work surface.) Once the dough is stretched out, fold the long side in thirds like a letter, and then fold from the other side in thirds. Return the dough to the bowl seam side down, and again cover it with plastic wrap for an hour,
After this second rising, take the dough out of the bowl and stretch and fold it again. Return it to the bowl for an hour.
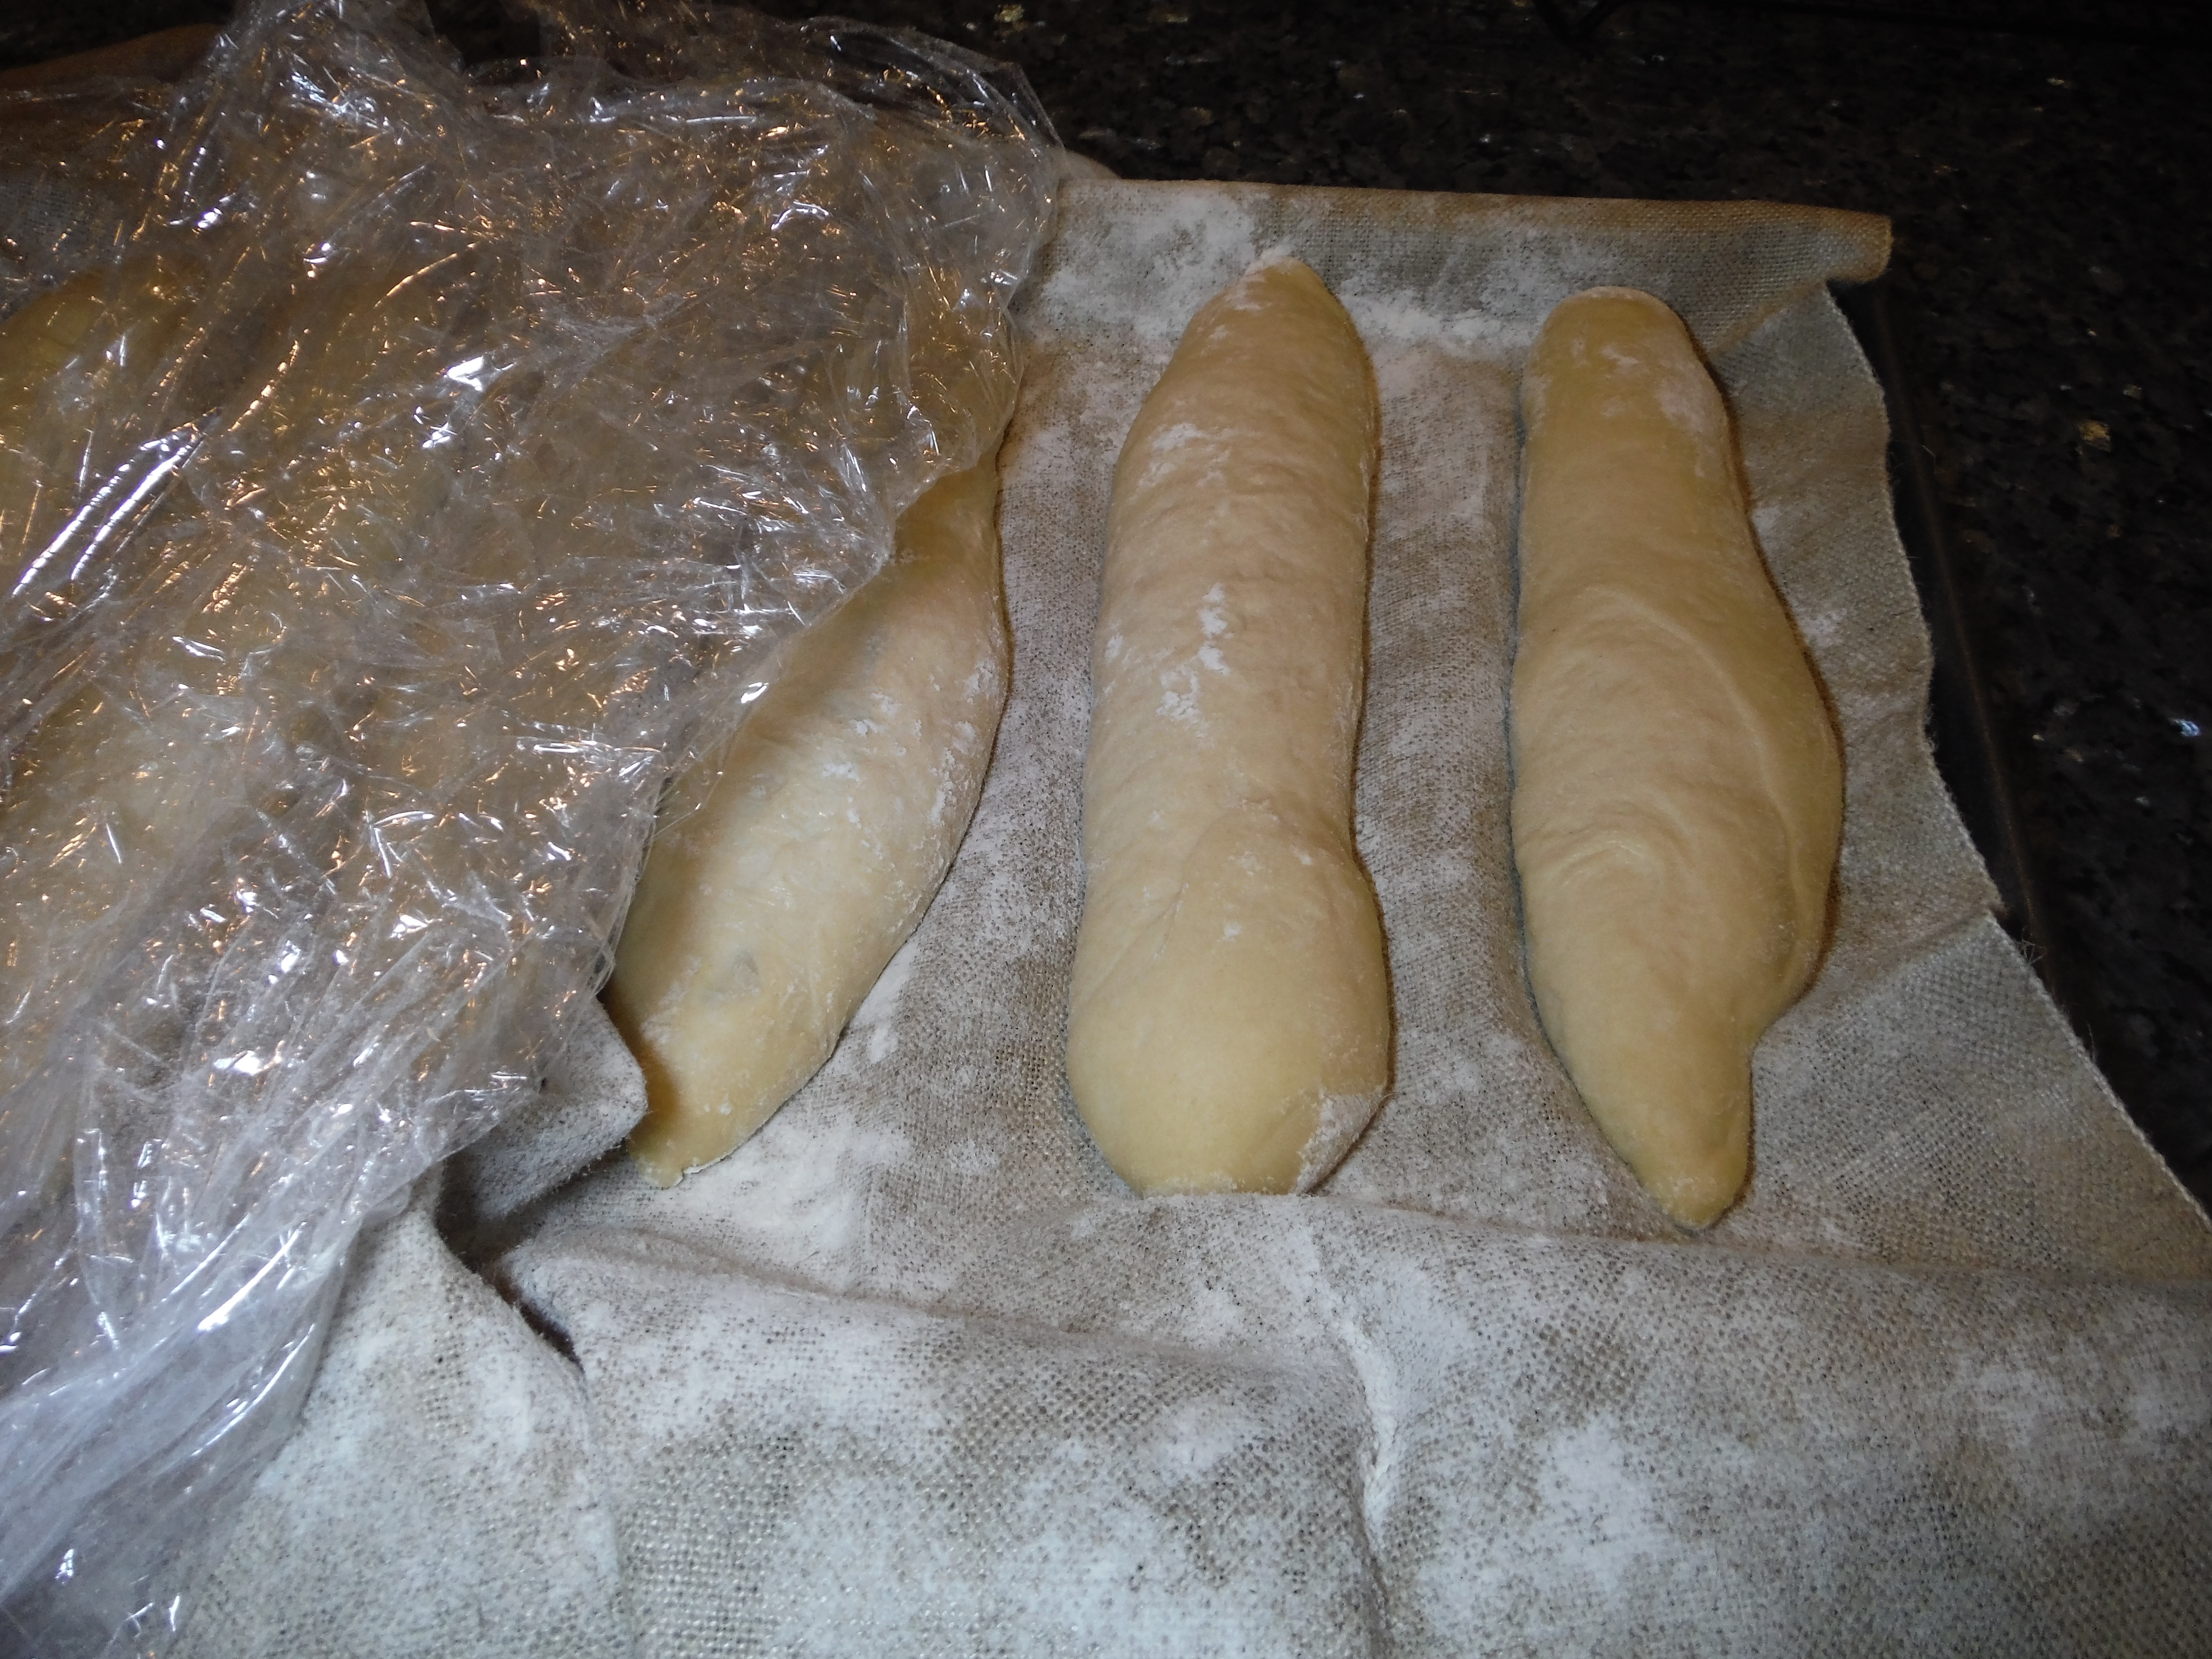
Now it is time to shape the bread. Take the risen dough and cut it into six equal pieces (~220 grams). Roll each piece into an even cylinder about 12 inches long. Place each of the formed loaves onto a well floured baker’s couch, with the cloth pulled up in pleats between each loaf. Put the loaded couch on a cookie sheet and wrap the whole thing well with plastic wrap. Put it in the refrigerator to slowly rise for 12-16 hours. Here is a picture of the formed loaves after being taken out of the refrigerator for baking.
Preheat the oven, Forneau oven, and baking steel at 475 degrees for 15-30 minutes, until you are sure that they are up to temperature.
Working two loaves at a time, coat the baker’s peel with bran, put on two loaves, slash the tops, and bake in the Forneau oven for 15 minutes with the door closed. After 15 minutes, move the partly baked bread onto the baking steel for 10 minutes, and start the next batch of loaves in the Forneau oven, again with the door closed. Thus each loaf spends the first 15 minutes in the Forneau oven, where the moist environment helps it expand and develop a crust, and then the final 10 minutes in a less moist environment which helps dry out and brown the crust.
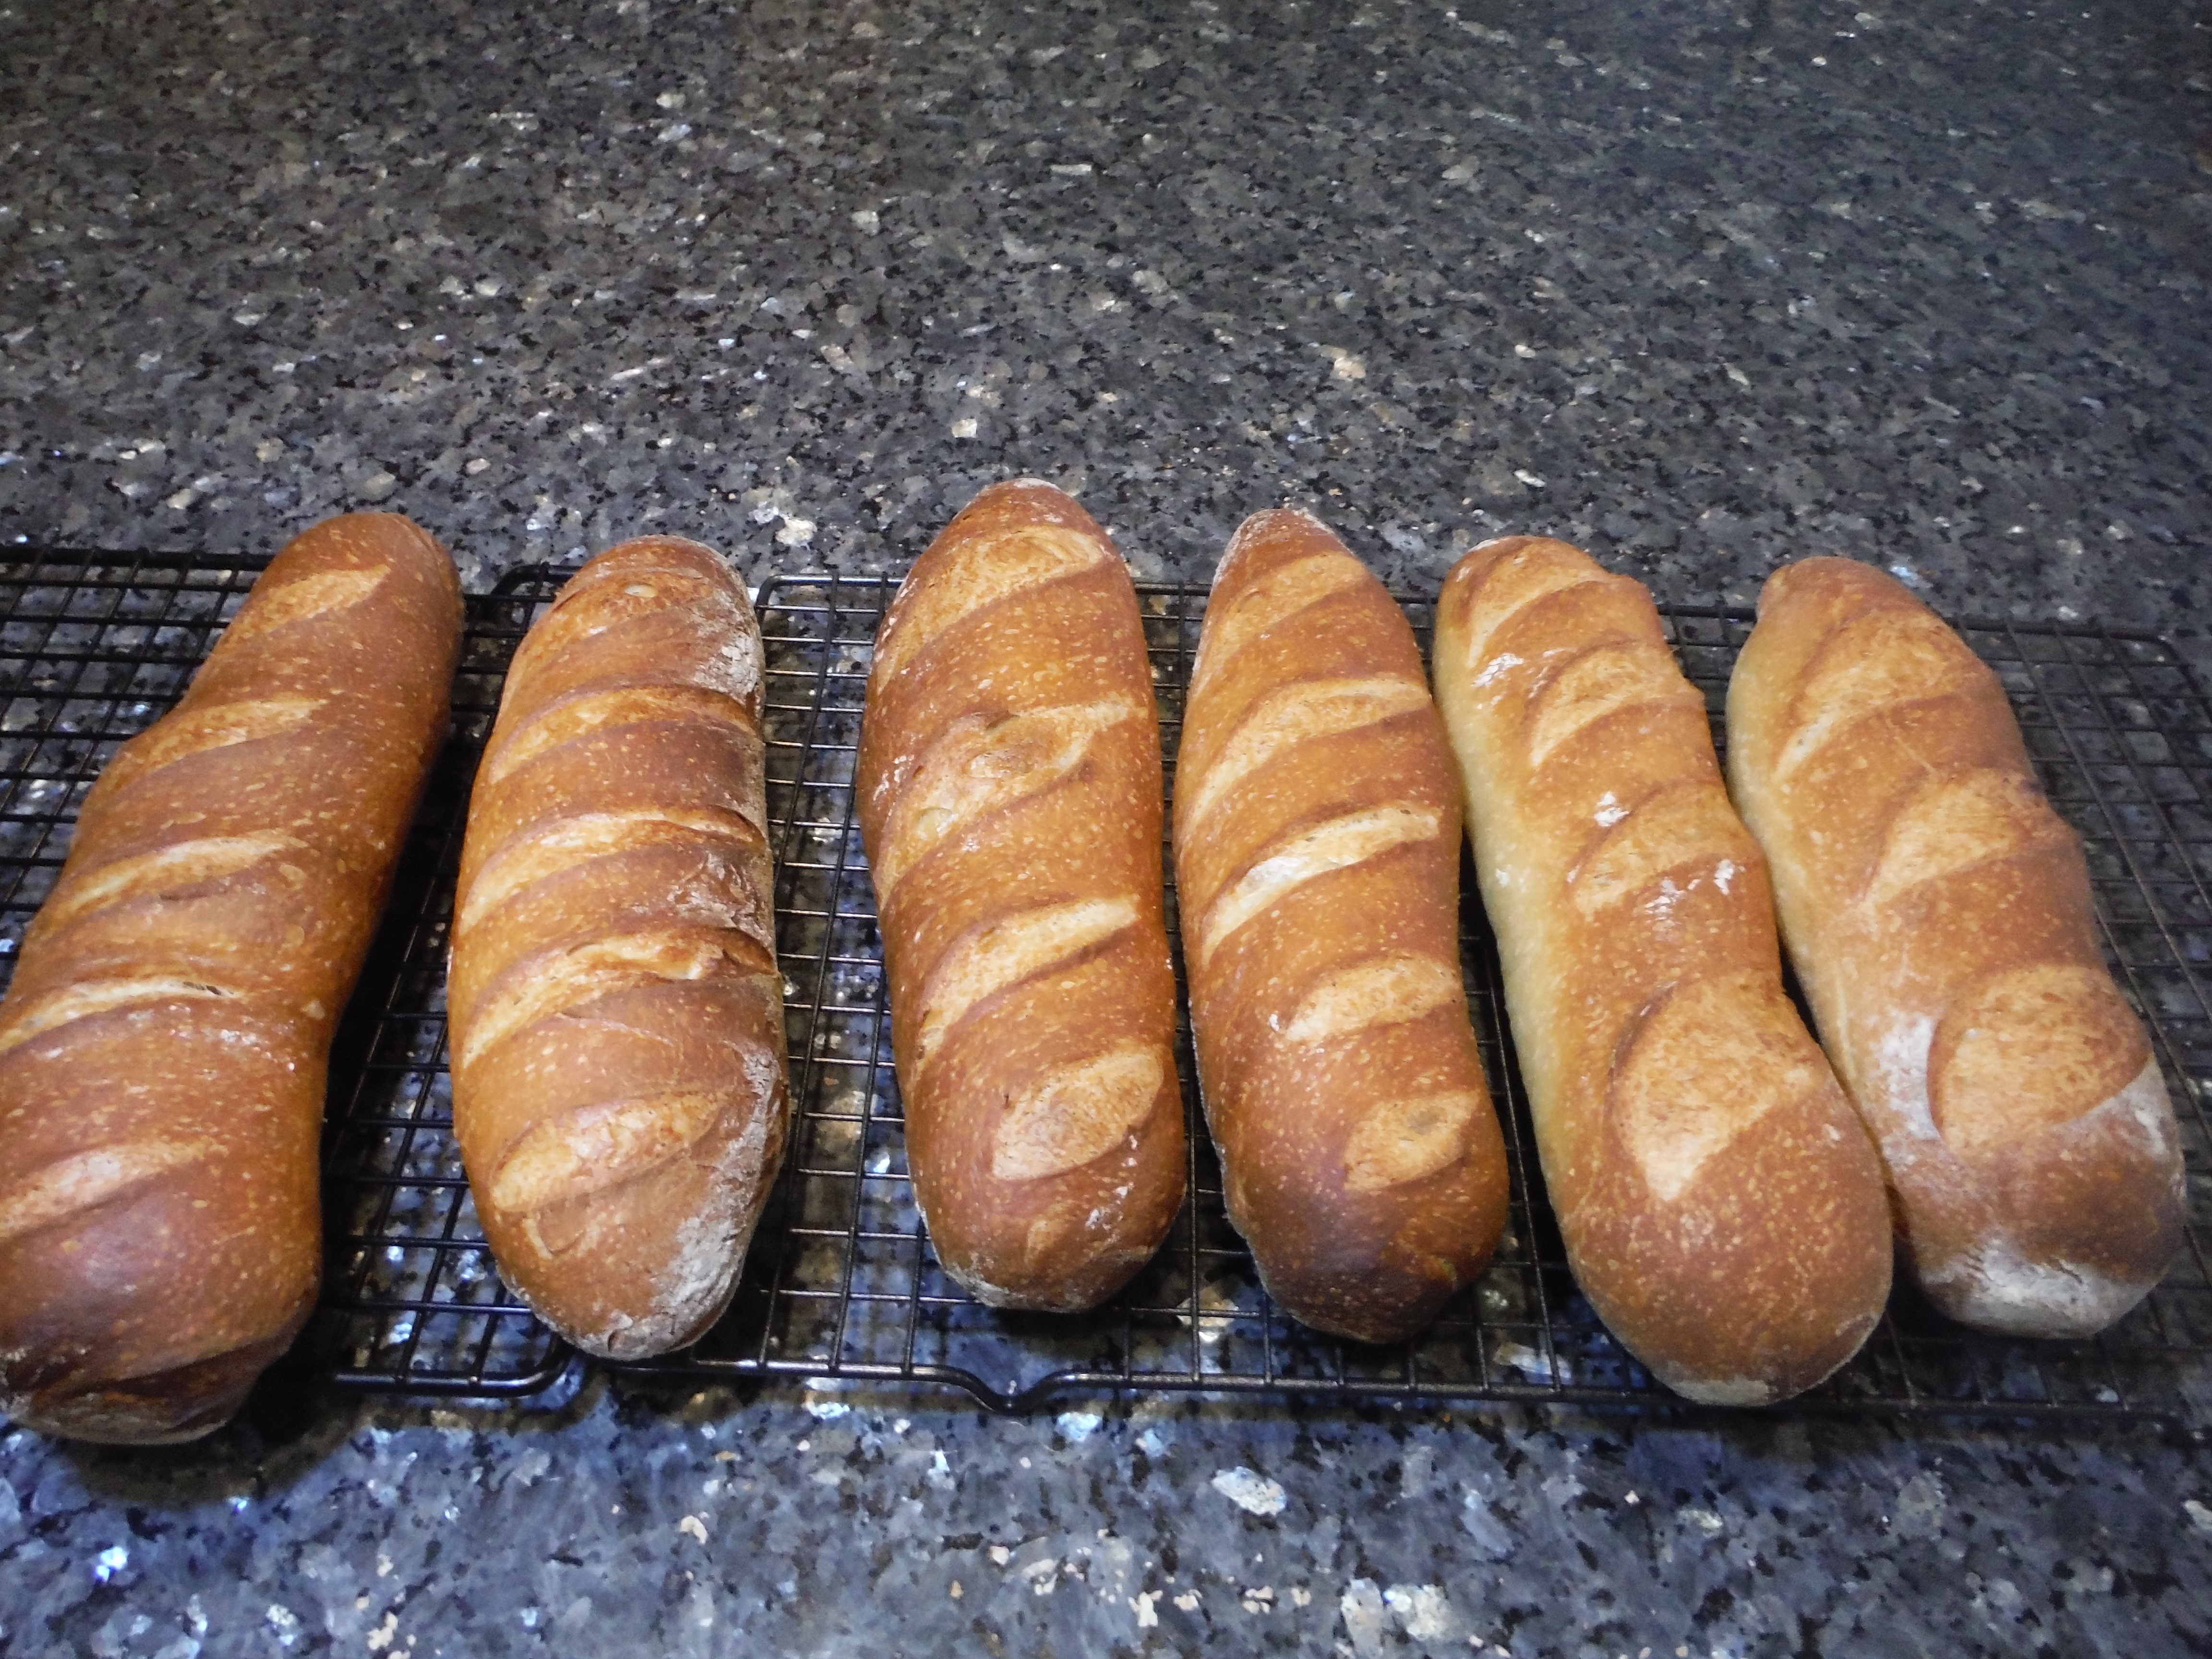
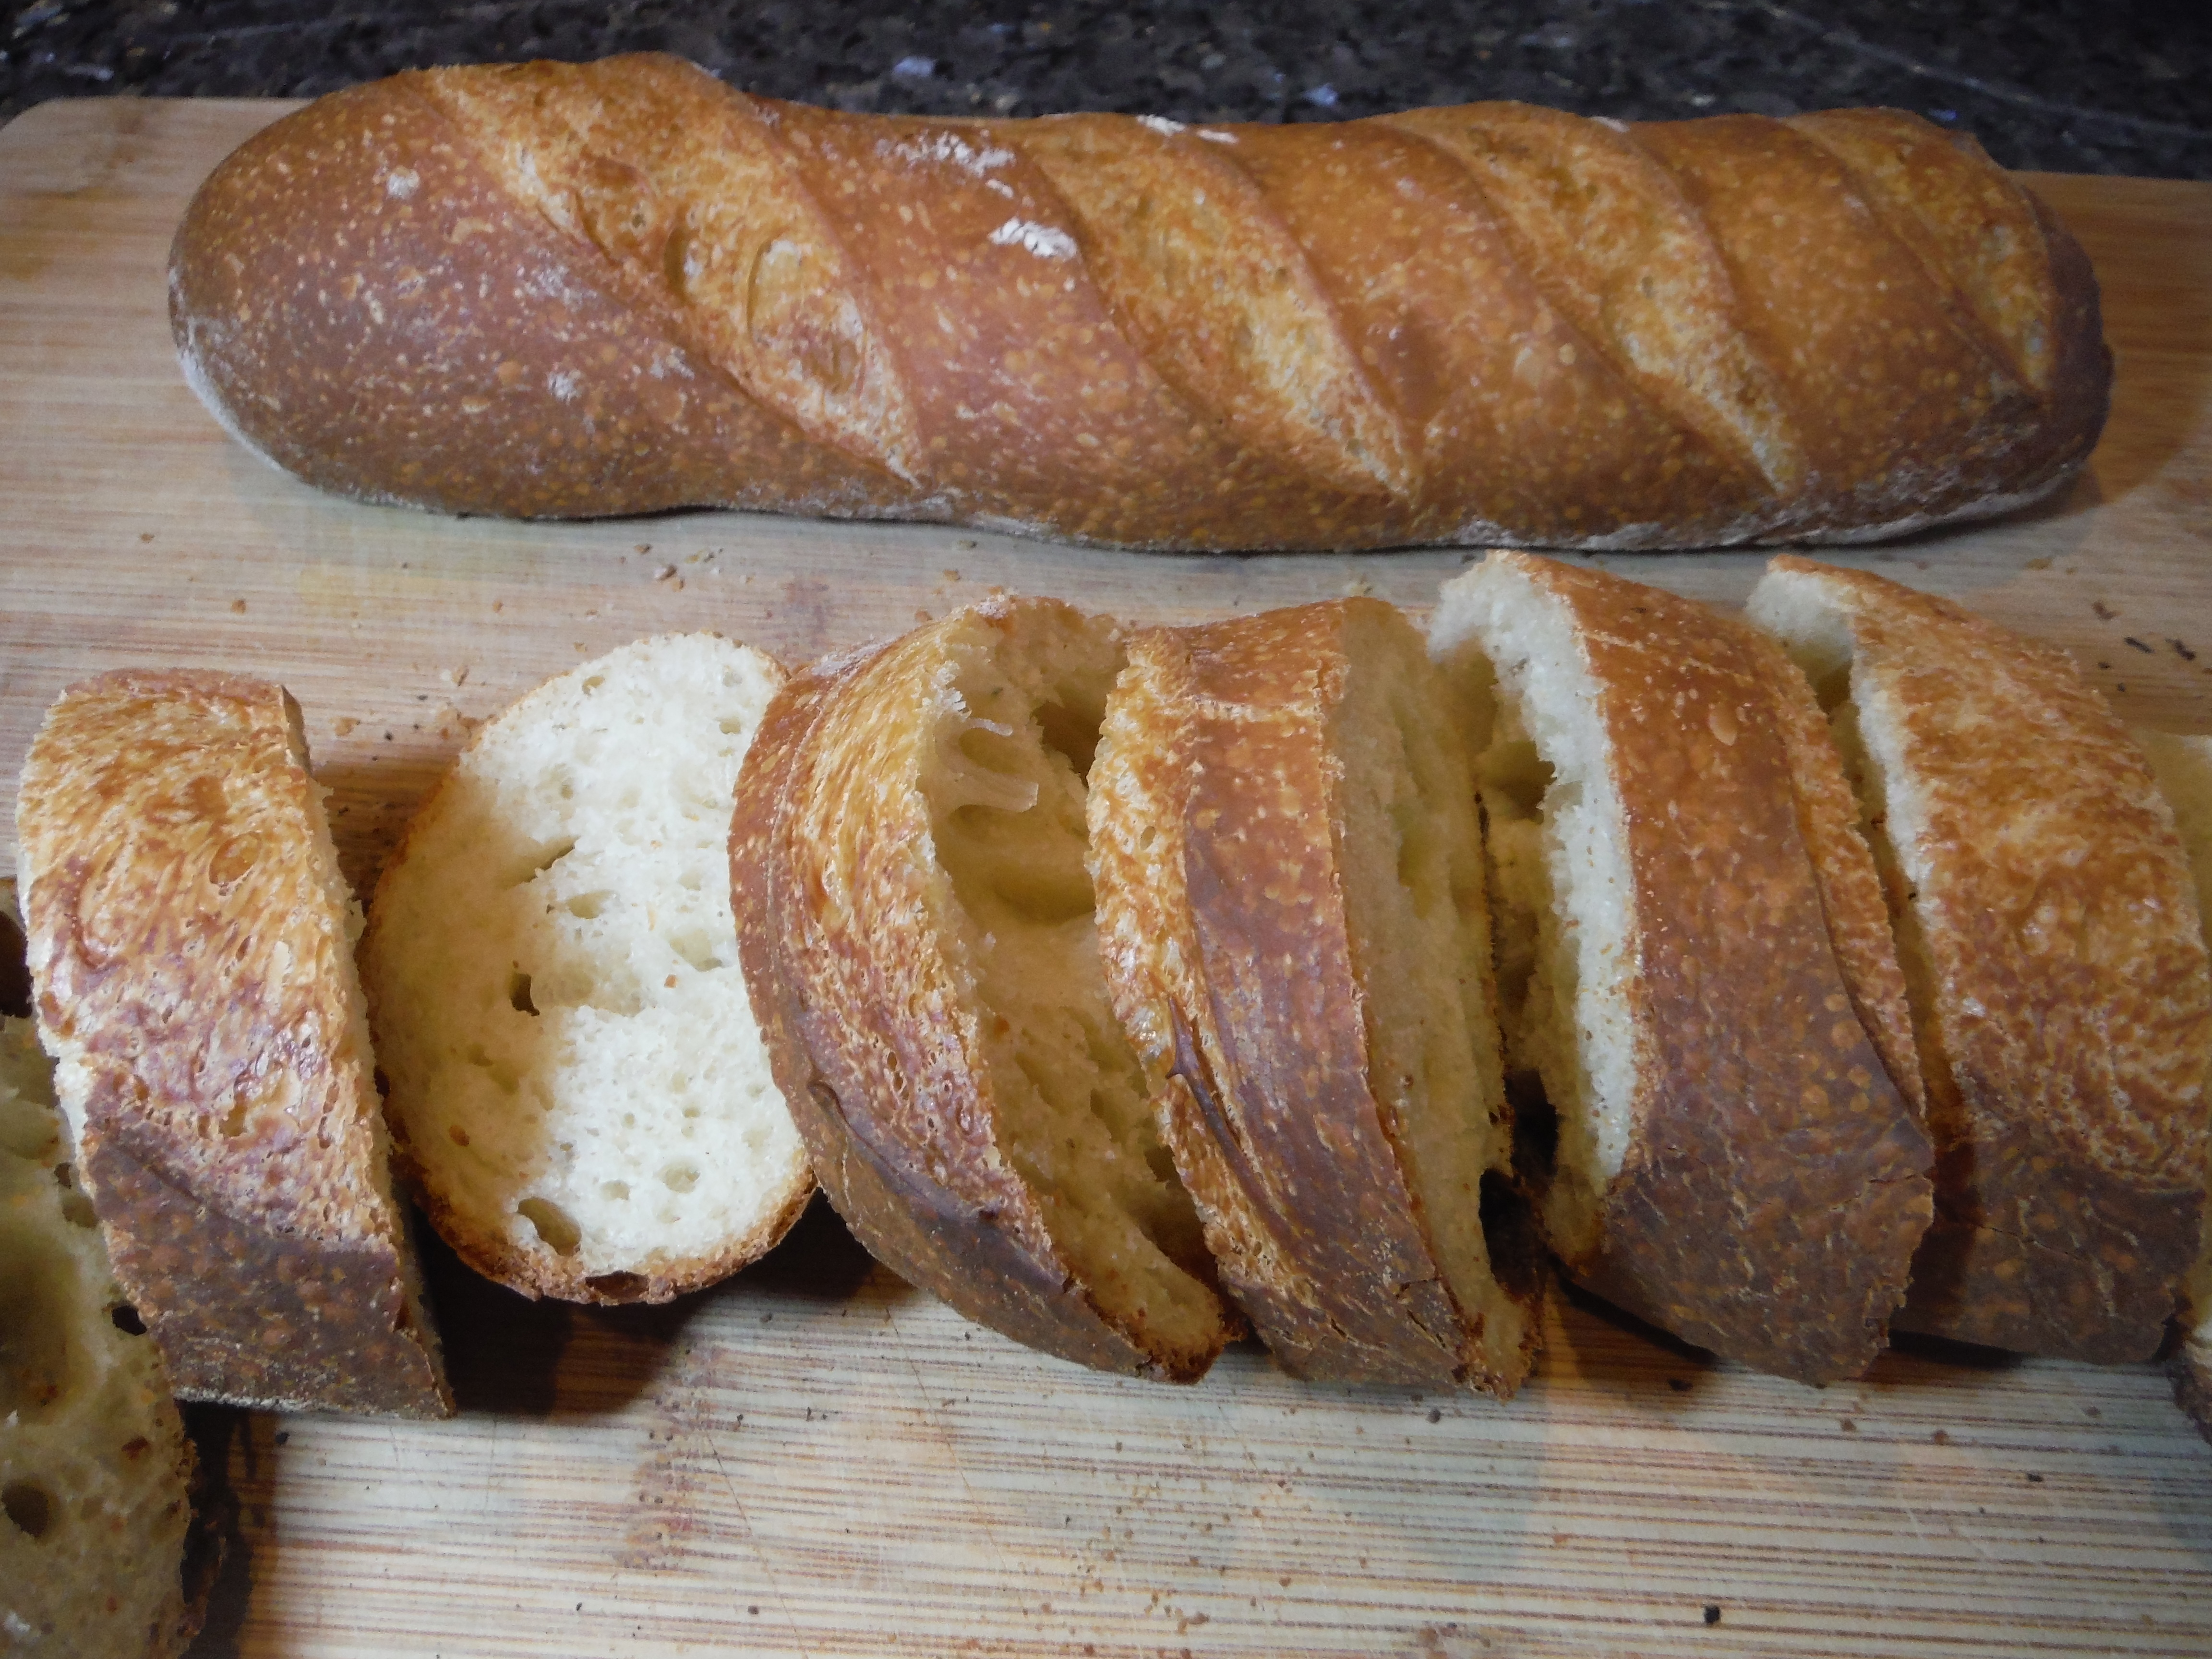
Allow the bread to cool fully on racks before cutting and eating.