
I received for Christmas Ken Forkish’s book Evolutions in Bread: Artisan Pan Breads and Dutch-Oven Loaves at Home, which includes many recipes using flour from older forms of wheat. I baked my first loaf yesterday using Einkorn, which is a primitive wheat. It has lower yields than modern wheat and is more difficult to process since the husk is harder to remove from the seed. It is therefore more expensive than modern wheat (I paid $7.99 for 2 lbs. of whole grain Einkorn flour) but it is flavorful, with a nutty taste. Also, some people who find themselves sensitive to modern wheats find that they are able to eat older varieties of wheat without problems.

Jovial seems to be the most widely available brand of einkorn flour.
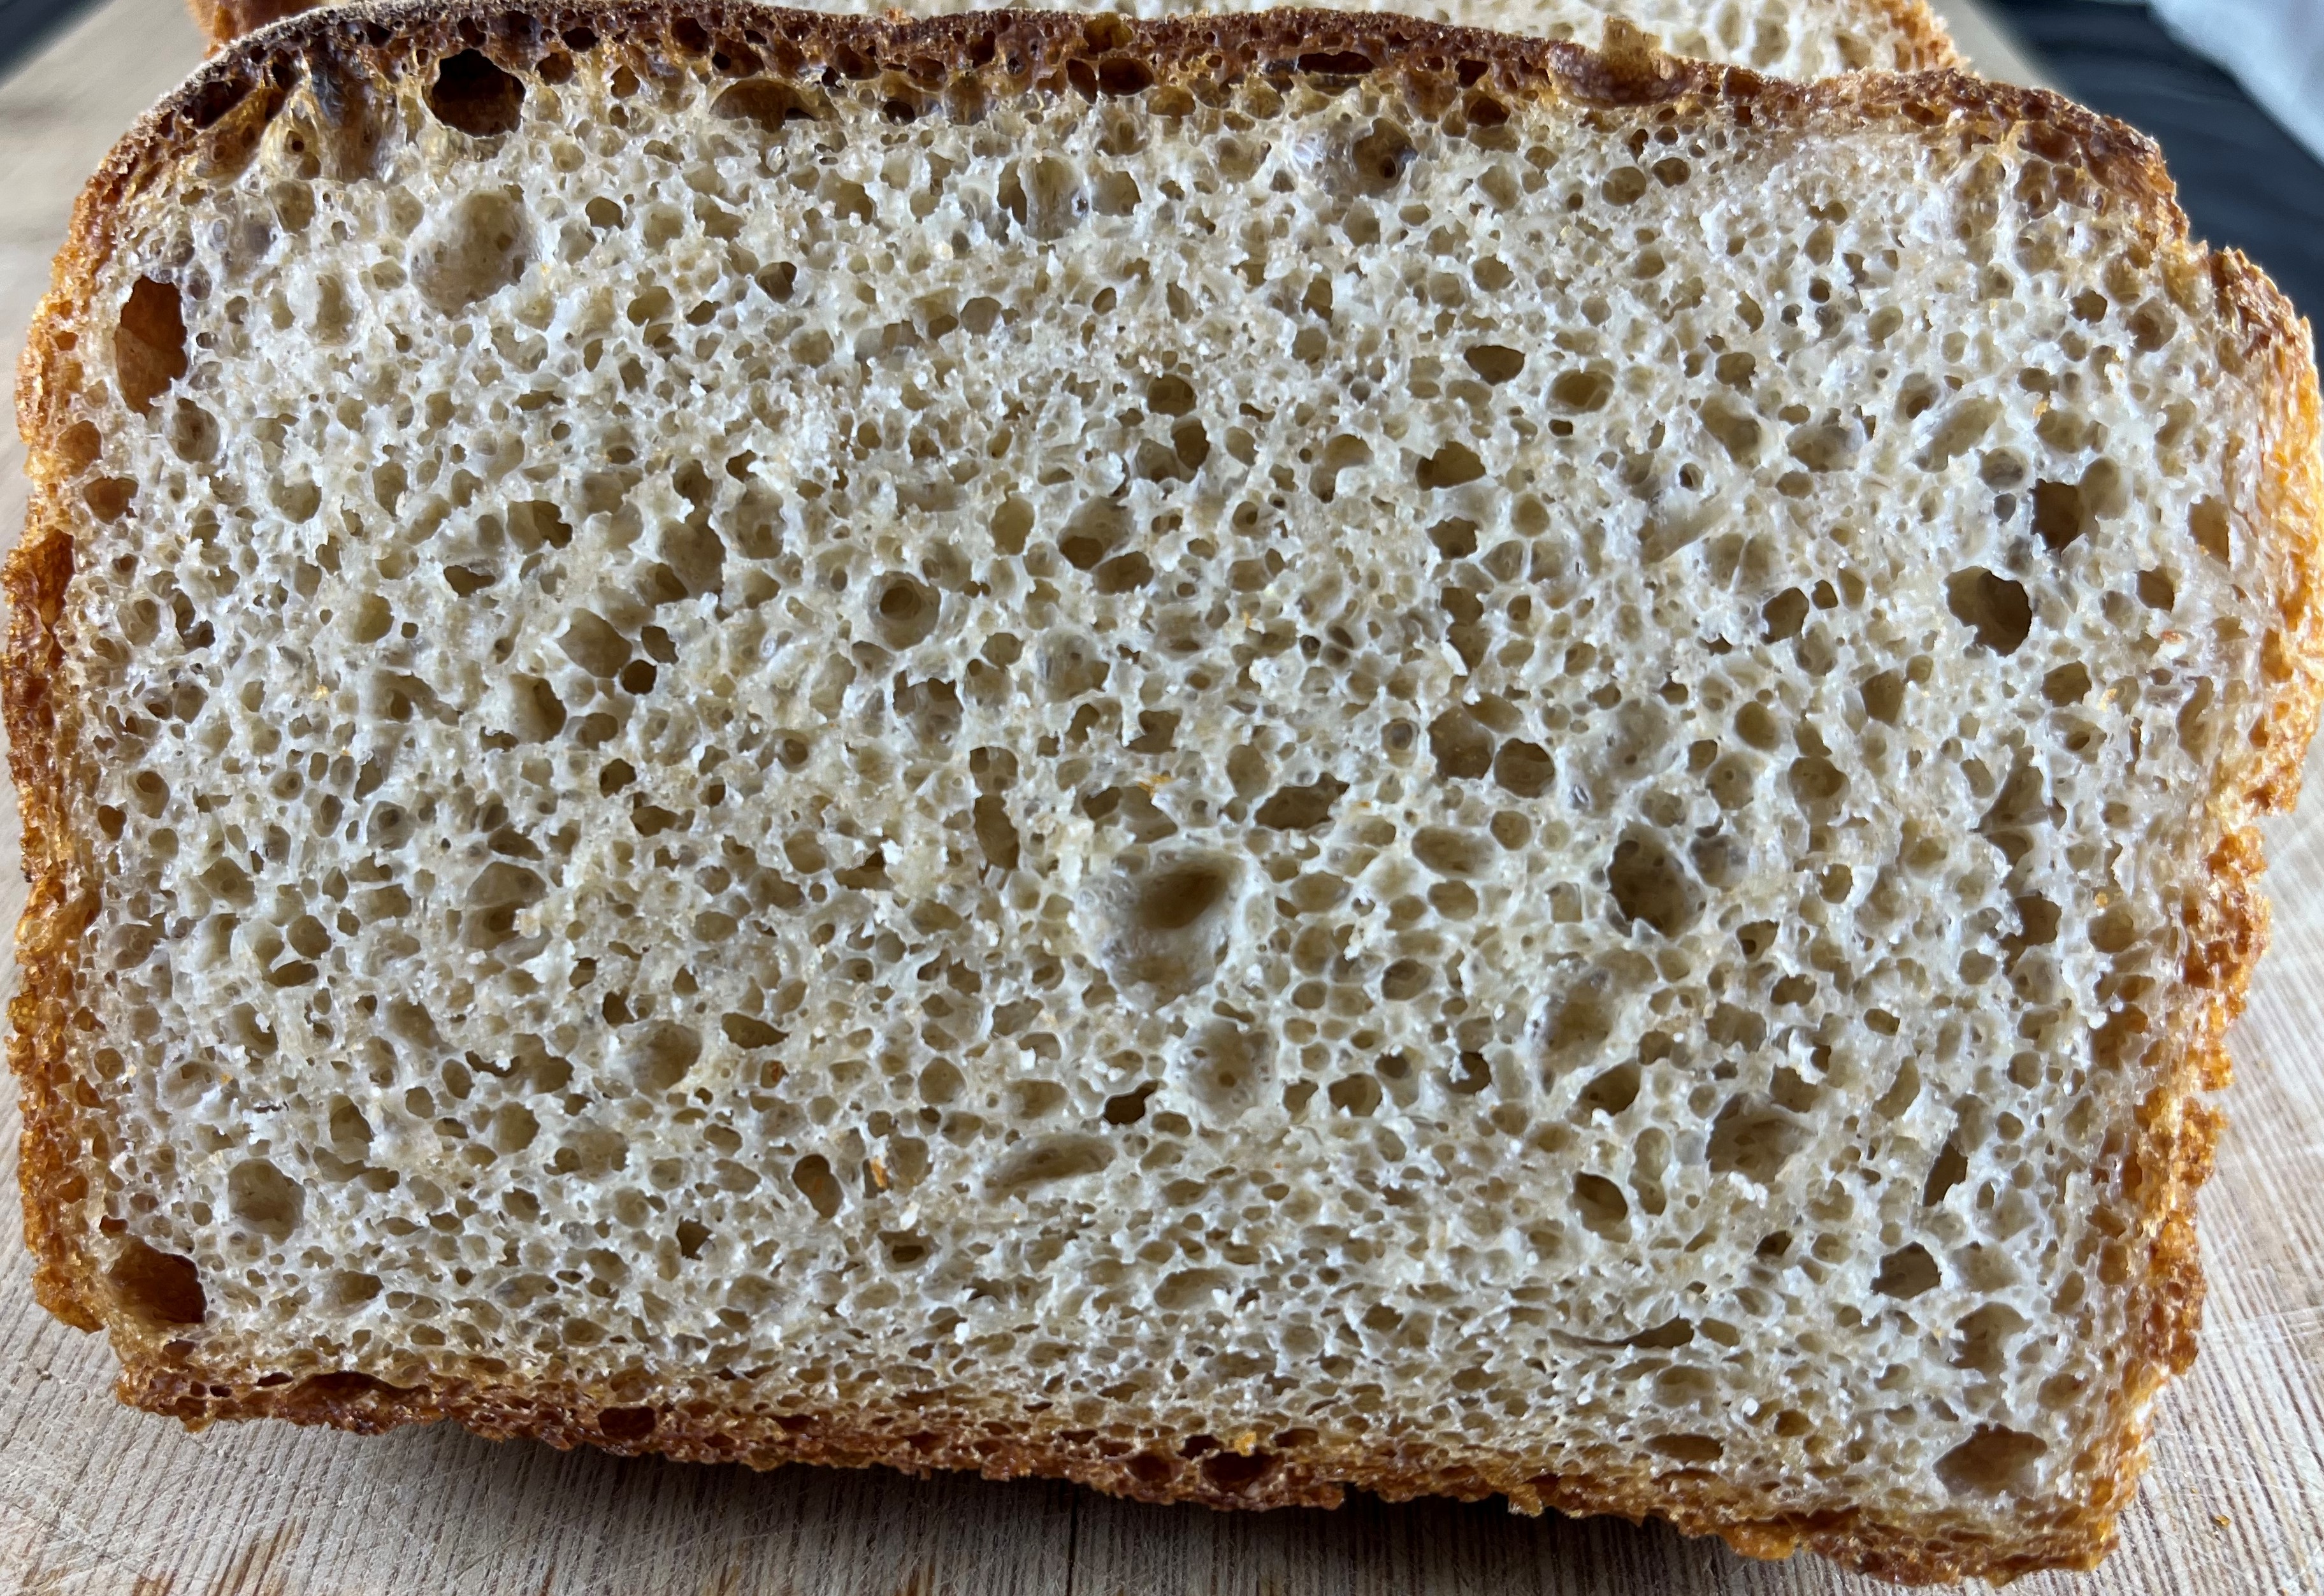
Like many other types of bread baking, the ingredients are few and straightforward so that the key to success is technique. Forkish uses a 6 quart dough tub to mix and ferment the dough. I had one (from King Arthur Flour), although I cannot find its lid since I normally use the 2 quart tub. This bread will take about 6 hours in a 70 degree kitchen, and should cool for another hour before slicing. I started the loaf after breakfast and ate a slice with my dinner.
100 g. (50% flour /50% water by weight) sourdough starter (optional)
425 g. lukewarm water
250 g. whole-grain einkorn (or emmer) flour
250 g. bread flour
11 g. (2.25 tsp.) fine sea salt
3 g. (1 tsp.) instant dried yeast
Put the dough tub on the scale and add 100 g. of sourdough starter. Add the 425 g. of lukewarm water. Stir with your hands or a dough whisk to mix well. Add the einkorn and bread flours. Mix by hand or with the dough whisk until well mixed. Sprinkle the salt on top and then sprinkle the yeast. Cover and allow to rest for 30 minutes.
After it rests, wet your hand. Grab some dough from the bottom of the tub and stretch and fold it over the top of the dough. Repeat a couple more times. Then make several pincer cuts in the dough and stretch and fold the dough over itself. Repeat cutting and folding the dough until the ingredients are well mixed. Let it rest for about 2 minutes and then repeat the process. Within about 5 minutes, the dough should be mixed. Cover and let it rest for 10 minutes.
After the 10 minute rest, with a wet hand, grab some dough from the bottom, stretch it and fold it over the top of the dough. Do this a few times and then recover the dough for another rest.
After about 20 minutes, the dough should spread to cover the bottom of the tub. Again stretch and fold the dough a few times using a wet hand.
Cover and allow to the dough to ferment until it has expanded to about ¼ inch below the 2-quart mark on the tub. This will likely take about 2 hours depending on the temperature in the kitchen.
When the dough has expanded enough, flour a work surface and flour the top of the dough. Coat a loaf pan with cooking spray.
Gently ease the dough on to the work surface trying to degas it as little as possible. Stretch it until it is about 3 times the length of the loaf pan and then fold it to the length of the pan. Then spread it a bit width-wise and roll it into the width of the pan. Put it in the pan seam side up. This dough will be very sticky so it will be a bit hard to work with, but do not worry too much about exactly how you handle it as long as you try to keep the gas in the dough. Wet your hand and brush a bit of water on the top of the dough.
Put the loaf pan with the dough into a clean plastic bread or produce bag and allow it to proof in the bag until the dough rises a little above the top of the pan, which will be about an hour.
About 45 minutes before baking preheat the oven to 450 degrees.
Put the pan with the proofed dough into the oven and reduce the temperature to 425 degrees. Bake for about 50 minutes, until done. At 30 minutes, check to see if it is browning evenly, and if not, rotate the pan.
When the bread is done. Put the pan on a cooling rack and ease the cooked loaf out of the pan. Allow to cool a minimum of 30 minutes (an hour is better) before slicing.
